Distortion Effects

It can be quite a challenge to graphically design a website or mobile application that displays images in very precise shapes and orientations. This can take the form of warping 2D pictures to have a 3D perspective, placing images in precise shapes or overlaying images in specific locations within another image, for example: overlaying an image over the screen of a smartphone.
Whether the desire is to display an image with 3D perspective, or fit an image into an irregular shape, such creativity normally comes with the large overhead of tweaking every image that needs to be displayed. If a website hosts a large number of images, or also wants to reshape user uploaded pictures, the challenge can quickly outweigh the reward or even become insurmountable.

The solution is to use a tool that can dynamically do the transformations for you, based on predefined parameters. This blog post will show you how to accomplish this with two new effects Cloudinary has added to its considerable repertoire of image manipulation features: distort and shear.
Transforming images using the distort effect
In order to make it easy to consistently shape your images, Cloudinary has introduced support for a transformation effect called distort (e_distort in image manipulation URLs) that allows you to dynamically customize your images to fit any quadrilateral shape. A quadrilateral (also known as a quadrangle or tetragon) is any polygon with four edges (or sides) and four vertices (or corners). The effect distorts an image by giving each of the four corners of the image new coordinates, and then mapping every pixel in the image in proportion to the new shape of the quadrilateral.
The distort effect parameter accepts 8 values separated by colons (:), as each of the 4 corners needs to be represented by both an x and a y coordinate. The new coordinates for each of the 4 corners is given in a clockwise direction, starting with the top left corner, and the value of each new coordinate can be one of the following values:
An integer representing the number of pixels from the top left corner (which has the coordinates: 0,0).
A string (an integer with a
pappended) representing the percentage from the top left corner (which has the coordinates: 0p,0p).
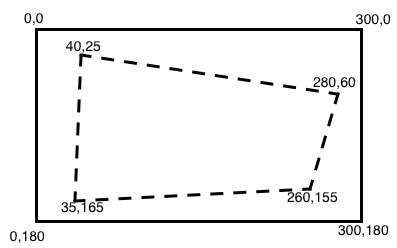
The image below shows an example of calculating the coordinates of the new corners of an image when distorting it to a new shape. The image originally has a width of 300 pixels and a height of 180 pixels, and the new corner coordinates are given in relation to these values:
e_distort:40:25:280:60:260:155:35:165
The following two images show themovie_time image, and then the image after applying the distort effect calculated above:

Applying the same distort effect (calculated above) to this image, using on-the-fly image manipulation URLs:

Overlays with 3D perspective
The distort effect is especially useful when used together with the overlay feature to create 3D perspectives. You can manipulate your image overlays (or underlays for that matter) to exactly match the dimensions and perspective of any quadrilateral shape in an image.
The following example demonstrates how an overlay can be distorted to match the 3D perspective of a DVD cover:

An overlay of the movie_time image can be distorted to match the 3D perspective of the DVD cover, where each of the 4 corners of the overlay is adjusted to coincide with the 4 corners of the DVD cover:

Manipulating images with the shear effect
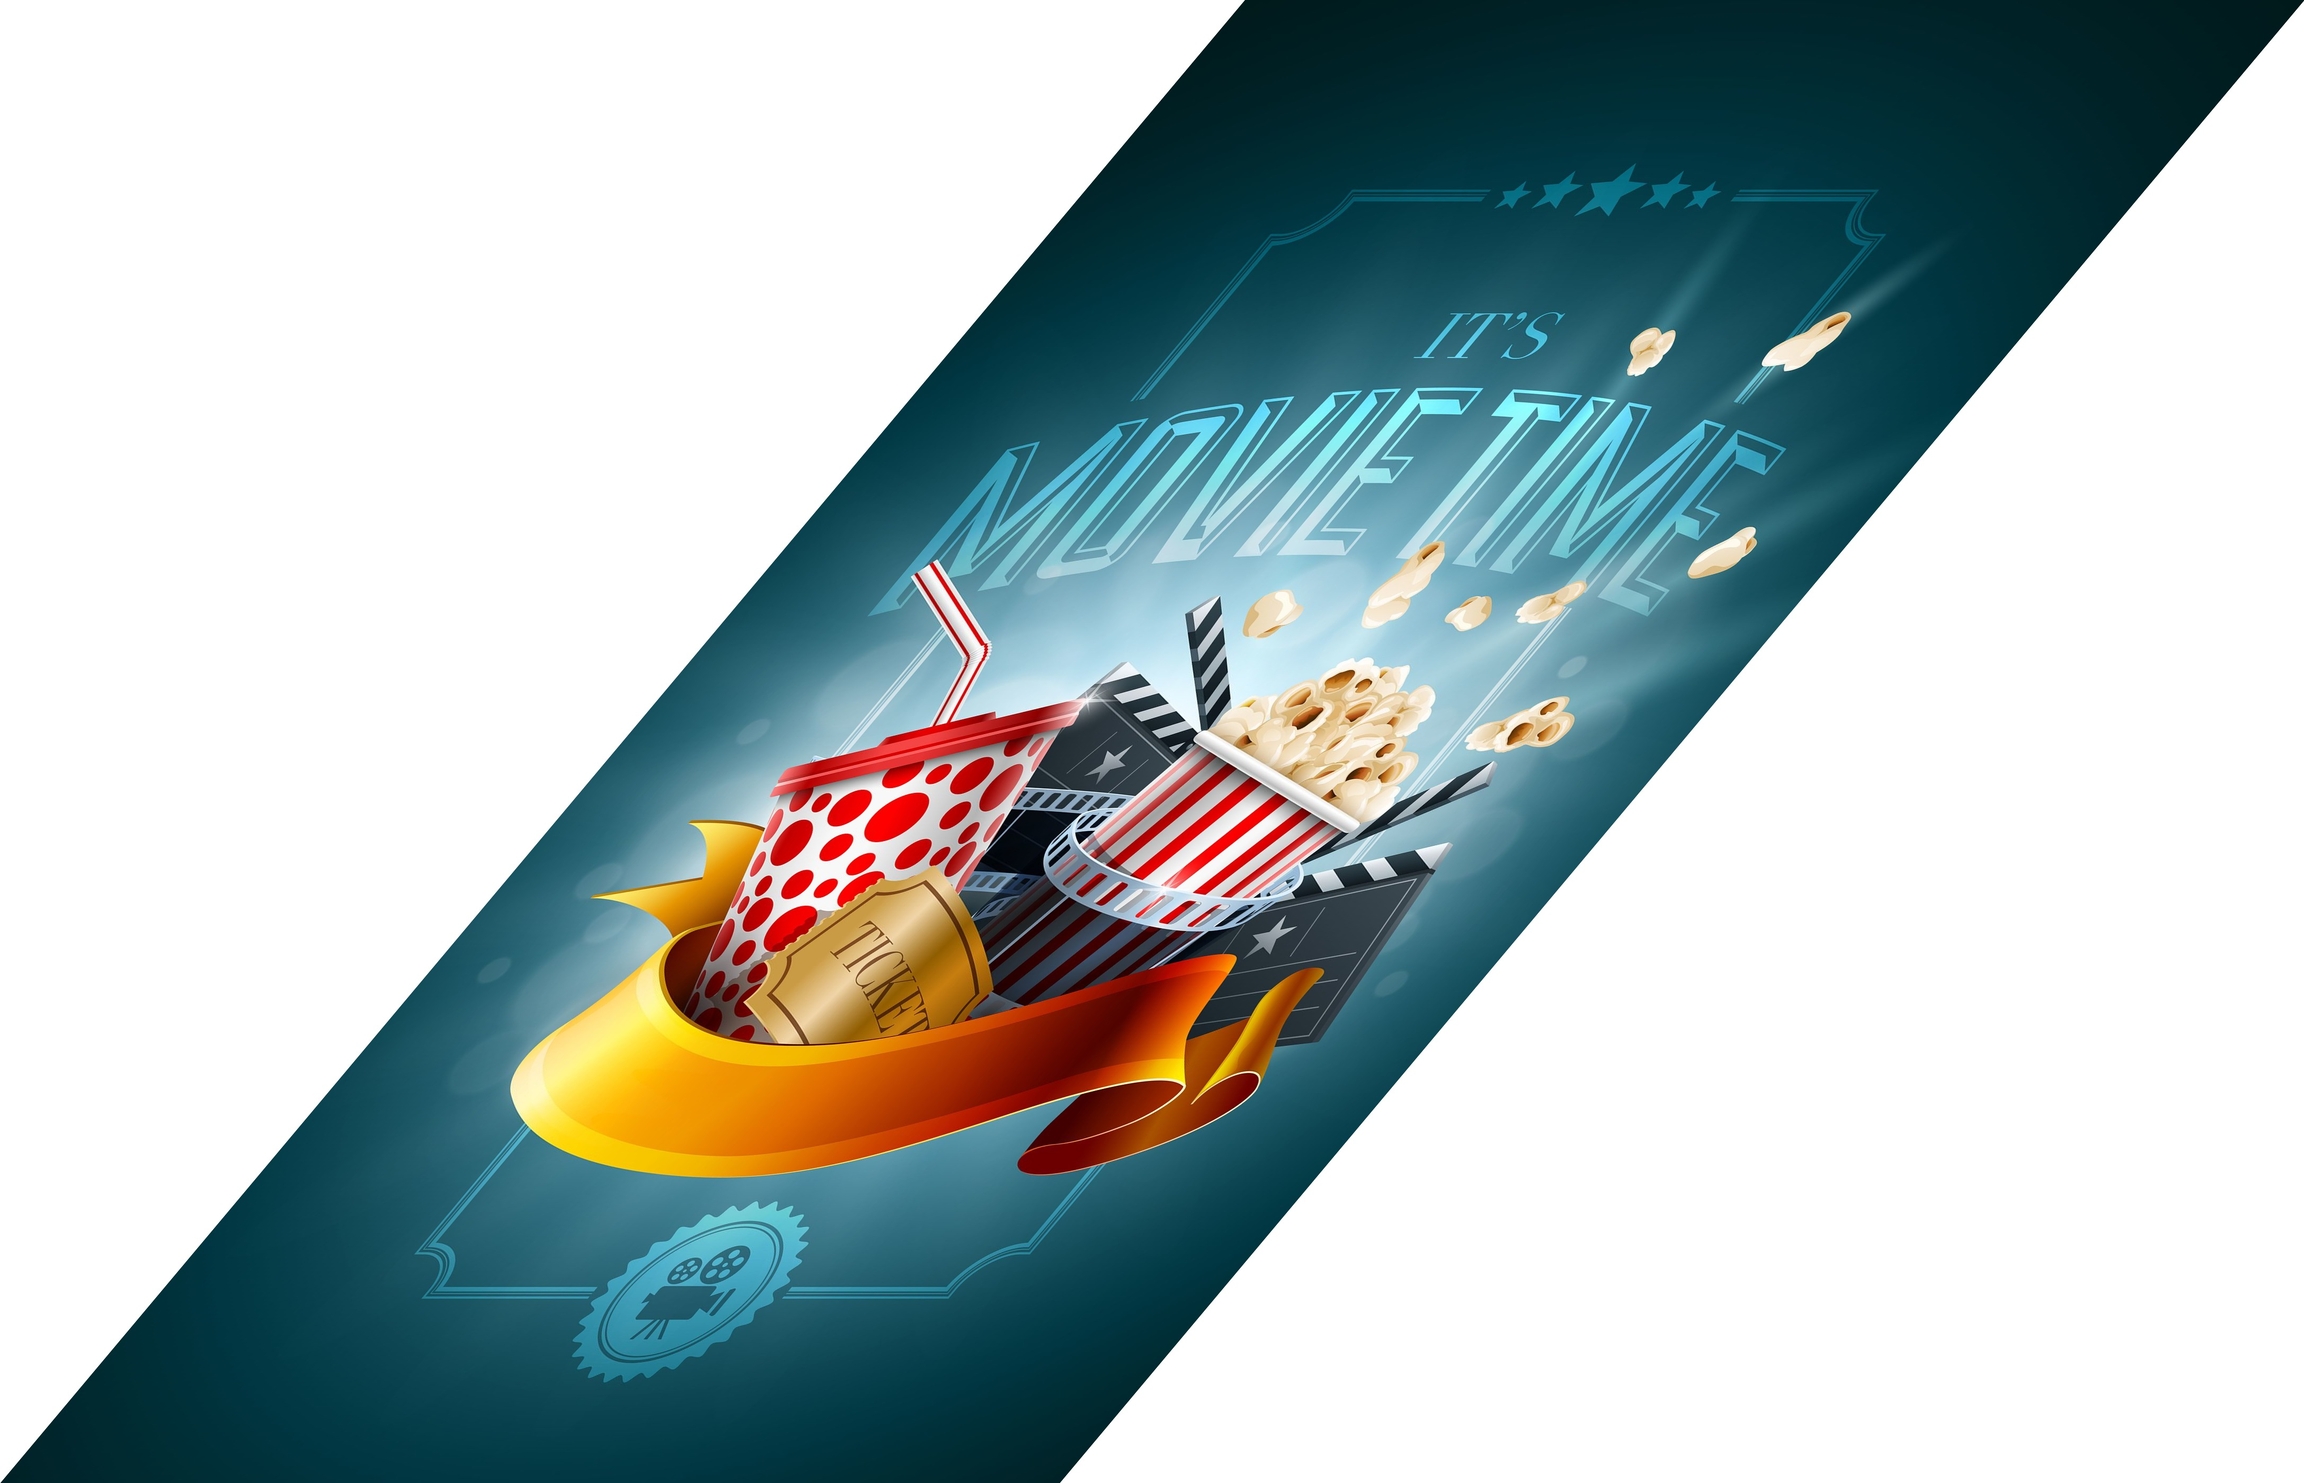
Cloudinary has also added support for another transformation effect called shear (e_shear in URLs). The shear effect skews the image along the x-axis and the y-axis according to a specified value in degrees. The parameter accepts two values separated by a colon (:), the first representing how much to skew the image on the x-axis and the second representing the amount of skew to apply on the y-axis. Negative values are allowed and skew the image in the opposite direction.
For example, to shear the movie_time image by 40 degrees on the x-axis:
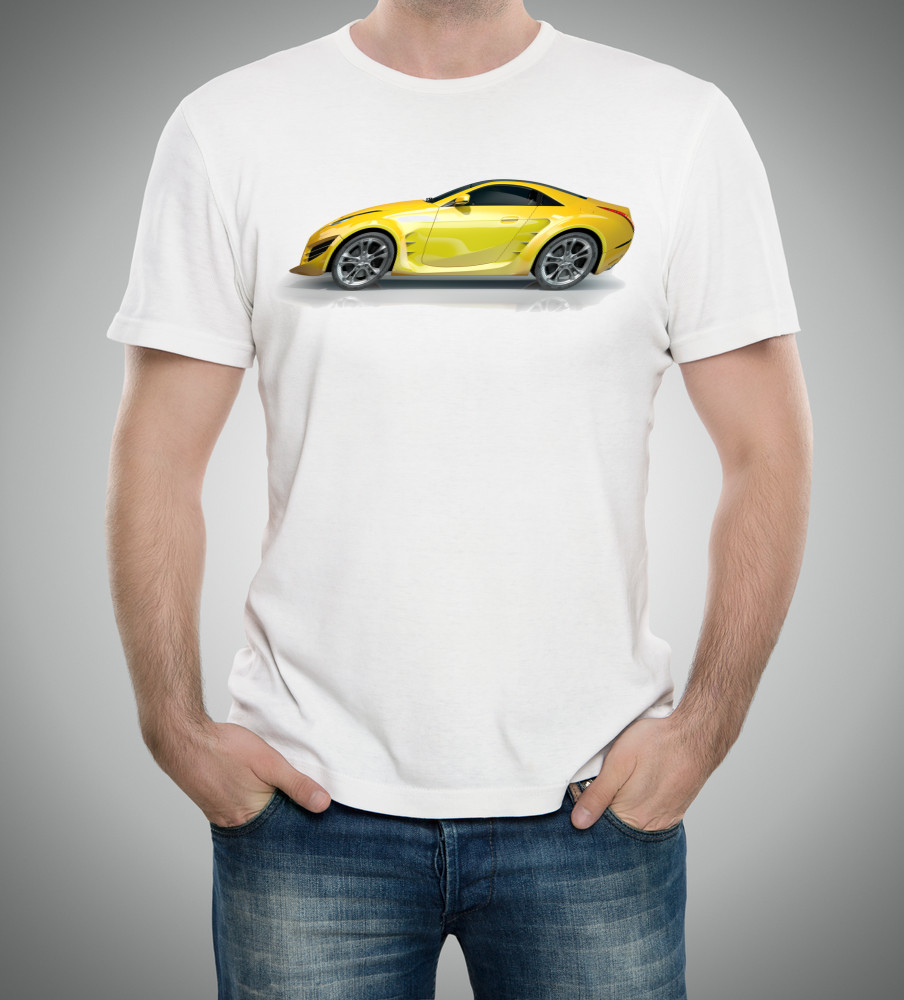
The shear effect can also be useful for transforming overlay images as in the following example of a yellow sports car overlaid on a white t-shirt.
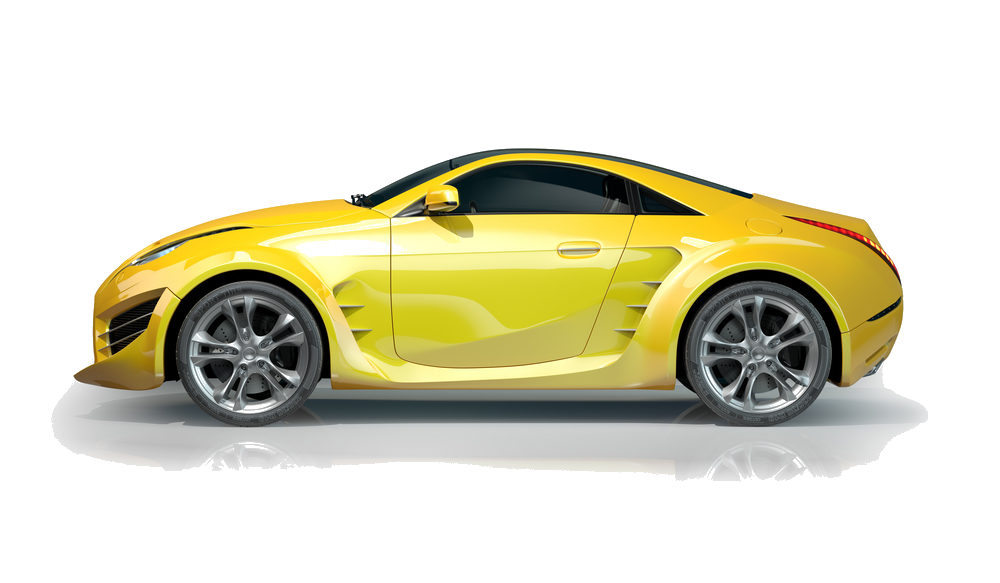
The shear effect is added to the overlay to give the impression of the car accelerating forwards:
Animated GIF example with the distort effect
You can easily mix and match the distort effect with other image manipulation capabilities supported by Cloudinary, such as animated GIF generation for example. The following example showcases a Ruby script that creates a very simple animated GIF of spinning text consisting of 20 individual frames. The script calculates how to modify the text string for each frame with the distort effect parameter in order to give the spinning text a 3D perspective. Each frame is then uploaded to Cloudinary, where each individual image (frame) is constructed from:
A previously uploaded blank image used as a base image.
A "distorted" text string overlaid over the base image.
Each frame is a therefore a combination of the base image together with an overlay of a slightly modified version of the text string.
After the script is run, the images are uploaded, and the animated GIF is created, the final file is ready for delivery:

Pretty cool use for the distort effect, right?
Summary
You can do some pretty cool things with image distortion, and in this post we showed you how Cloudinary can do this easily in the cloud using simple dynamic manipulation parameters and delivery URLs. Distort and shear are the two new Cloudinary effects that are especially useful for the exact positioning of overlays and giving images a 3D perspective.
These features are available for use with all Cloudinary accounts, including the free tier.
Want to give it a spin…? Add a comment below with your own creation using distort, shear and other Cloudinary manipulation capabilities. We’ll pick the coolest ones and send over a bunch of Cloudinary swag!
Last updated