
Getting Started in Unity
Open Unity and create a new 3D Project.
Name your project something interesting and put it somewhere that makes sense for you. In the process of downloading Unity and getting a personal license, you should have created an account.
Login to the using “My Account” if you haven’t already.
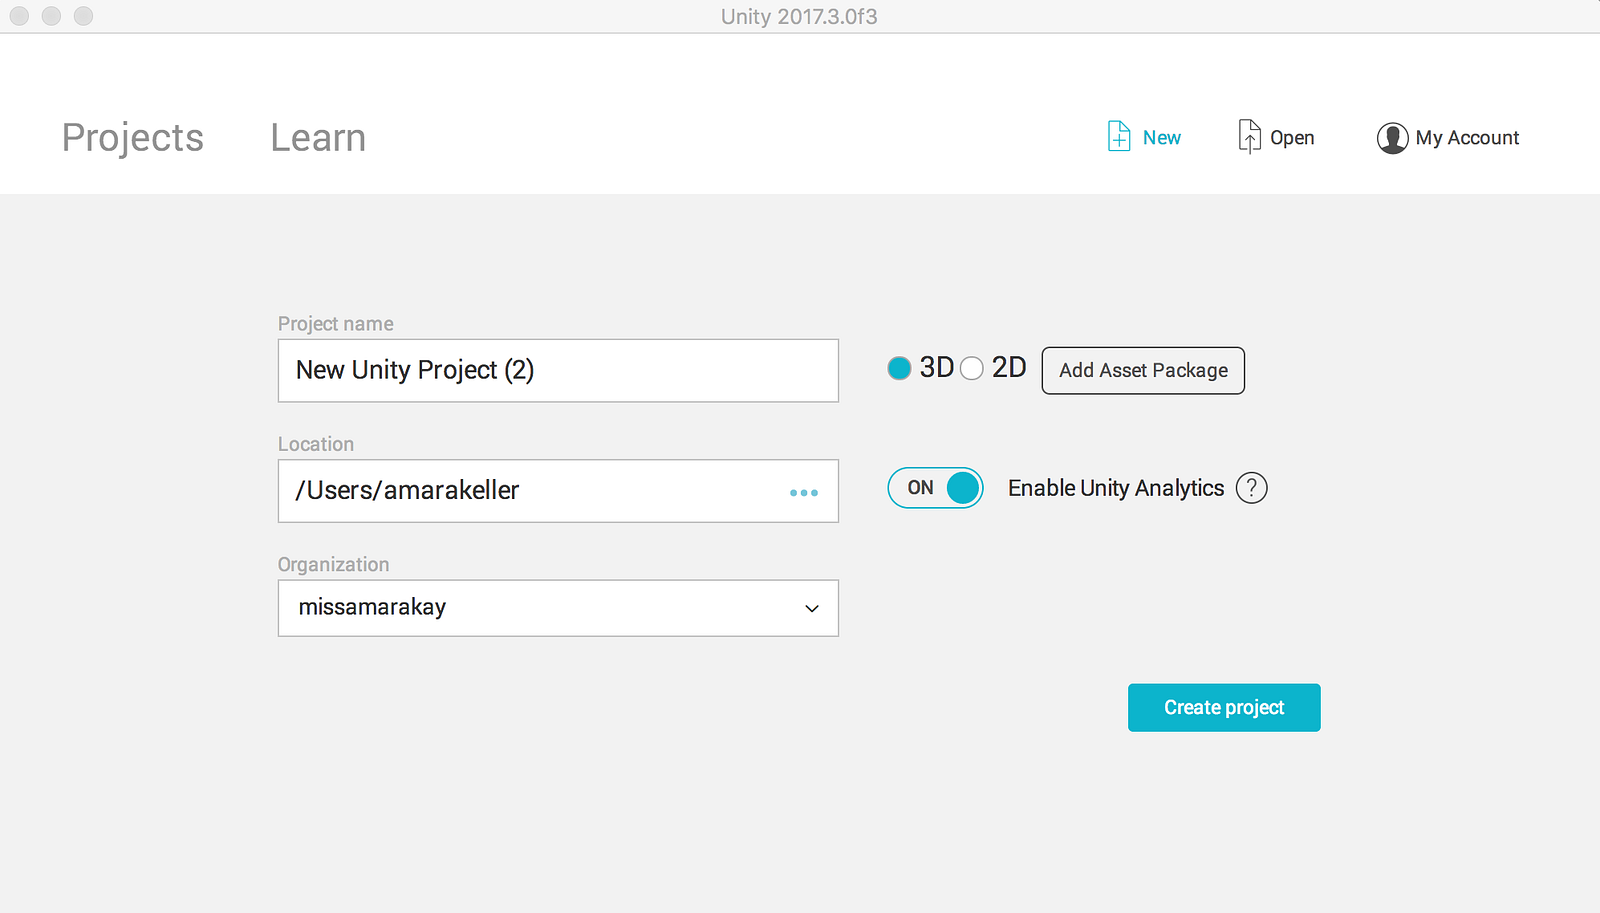
Click “Create project”.
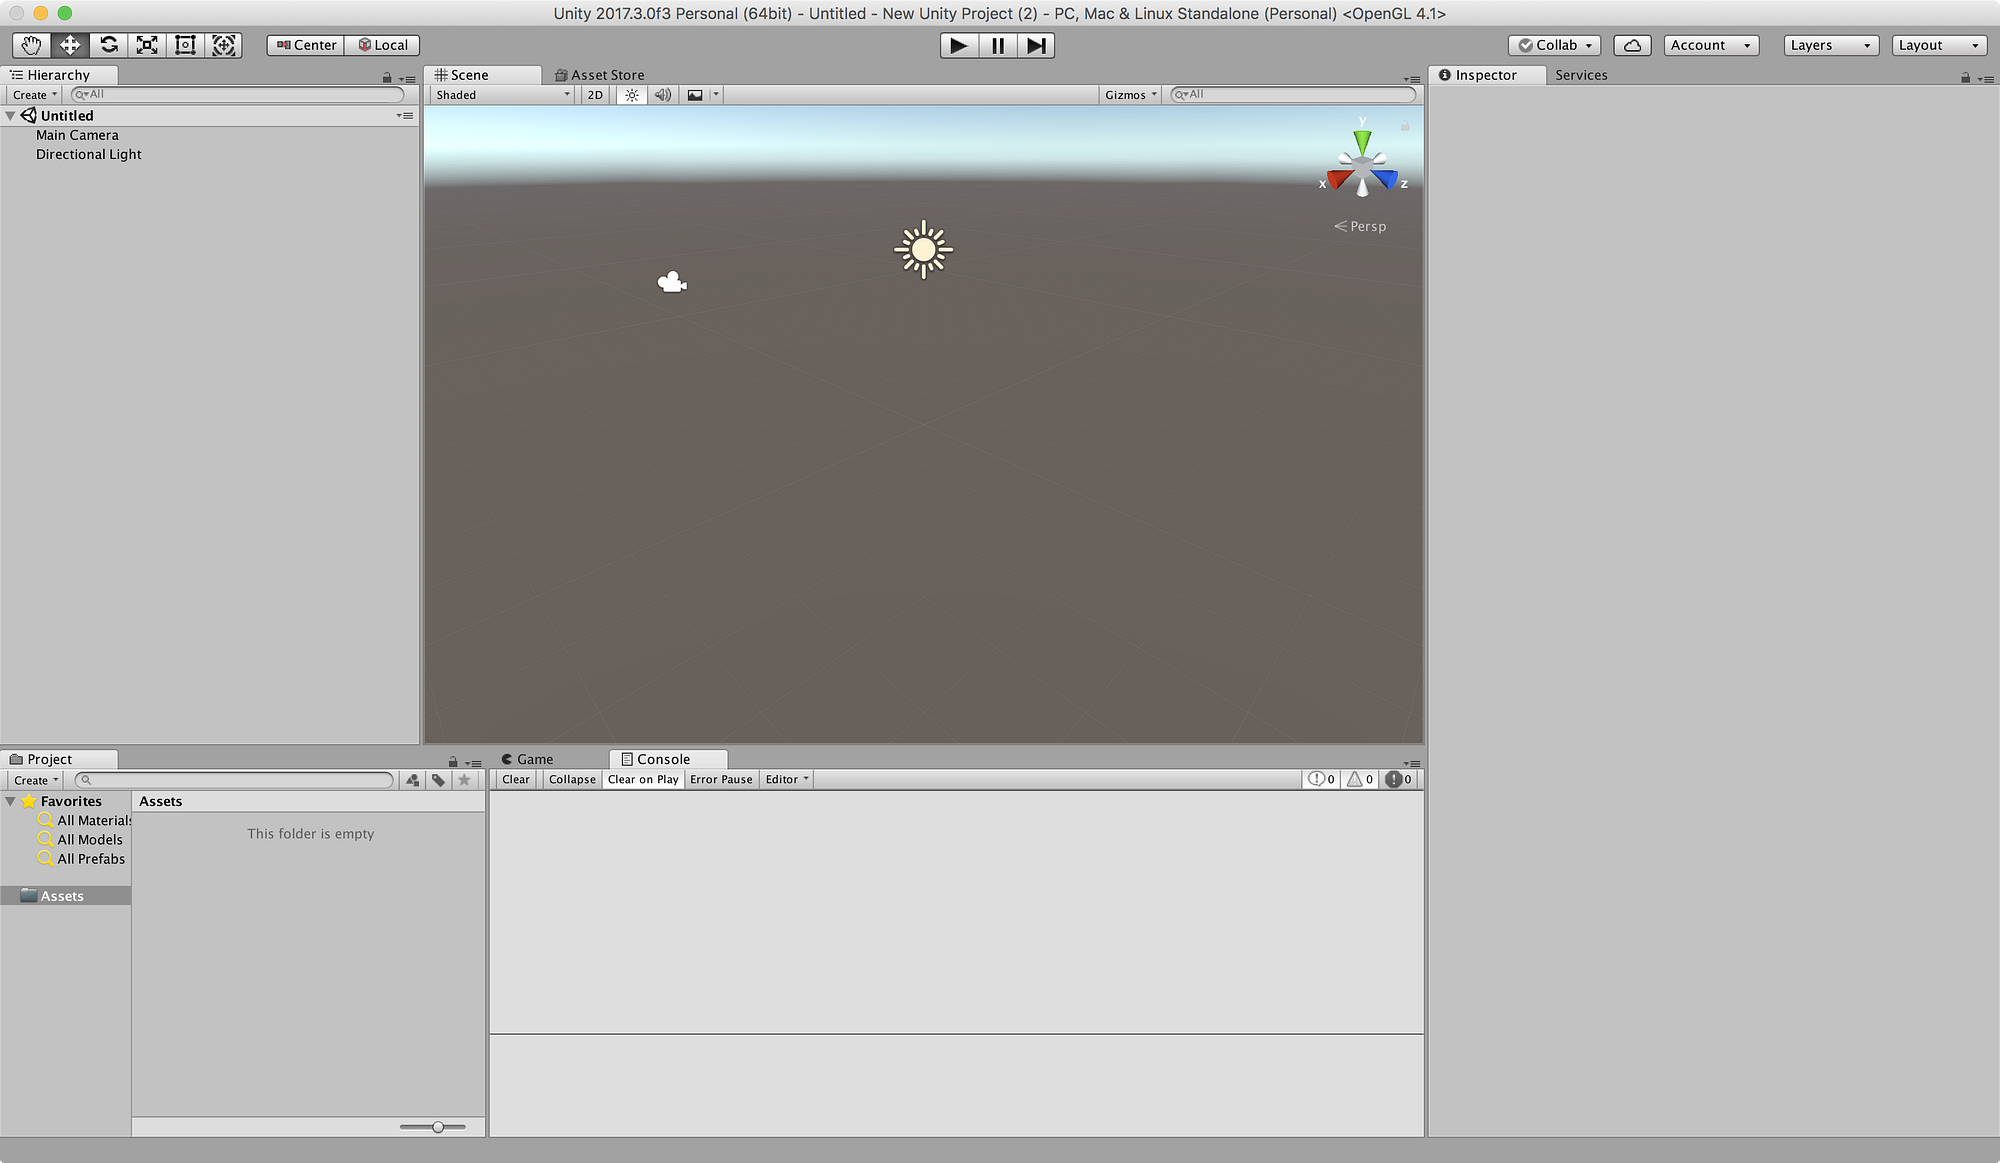
A shiny new project with nothing in it will load before your very eyes. The layout may not look like mine, but see if you can find the tabs and sections and put them in a similar layout. This was helpful when I followed my first video on the Unity Editor.
Notice in the Hierarchy you have something Untitled (a scene) that looks like it contains a Main Camera and a Directional Light. In subsequent screenshots you’ll notice I eventually delete the Main Camera since the ARCamera handles all the camera work, but I’ll remind you later when it makes more sense. Let’s rename the scene by going to File > Save Scene As… and name it something.

Unity Editor with Hierarchy marked in a red box and Project in a red circle
I named my scene “AR Scene” which you can see in both the Hierarchy at the top and the Project at the bottom.
A best practice includes creating a folder to hold your scenes so its not sitting at the root of your Assets folder. This project isn’t going to be huge, so I’ll create a new folder for my scene later when I’m adding other assets in. For now, let’s watch how the Assets folder of our Project gets populated as we build out our scene.
Last updated