
Deploy to iOS
Deploy to iOS
_Disclaimer:_In this section,_y_ou are going to be working in the Unity Editor and Xcode. You may see warnings appear in Xcode that did not appear in the Unity Editor console.
In the Unity Editor go to File > Build Settings. Click the “Add Open Scenes” button. Then select “iOS” as the platform.
Click “Player Settings” and make your Company Name and Product Name something unique to you and your app. Expand “Other Settings” and provide a Bundler Identifier in the form of_com.CompanyName.ProductName_with the same names you provided above.
This app will use the camera and microphone, so under the Configuration section you need to make sure the Camera Usage Description and Microphone Usage Description are set. I recommend something similar to the following:
Camera Usage Description: Camera access required for target detection and tracking
Microphone Usage Description: Microphone access required for speech-to-text service
If you do not set the Microphone Usage Description, your app will crash immediately after the camera loads, and may not throw an obvious error message.
Additionally I checked the following boxes, show in the image, and set my target device to iPhone Only with a minimum version of 9.0.

I expanded the XR Settings section to make sure the Vuforia Augmented Reality Support box was checked as well. Which was really more of a sanity check than anything else.
Reopen the Build Settings modal if you closed it (I did, it was in the way). Click the “Build” button. You’ll see a prompt appear to save your Build somewhere. You may want to create a Builds folder and save it in there if you want to keep your Builds nice and tidy.
If you did what I did the first time around, you added like every cool free asset you could get your hands on and didn’t remove it. So my build took a fair amount of time. Get up, make yourself some tea, check the mail, and maybe it will be done when you get back. I doubt yours will take that long unless you went asset crazy too.
Once your build is complete, Finder should pop up showing the folder containing your build files. Open it and click the .xcodeproj file.

This will load your Unity project in Xcode. Don’t panic when you see a whole mess of warnings, it’s fine.
Click Unity-iPhone in the file tree to open up the General settings of this project. You’ll see under the Signing sections that you need a provisioning profile.

Under the Signing section, check the box for “Automatically manage signing” and click the button to Enable. Your screen’s options will change a bit.

If you added your Apple ID to Xcode in the section above, the Team dropdown should include your name. Select it and your options change again.

It’s important that your Deployment Target and Devices match what you specified in Unity. If you chose a higher deployment target or devices, make sure it’s reflected here. Otherwise, it should have carried over and don’t touch it!
Plug in your iPhone, make sure it is unlocked and glowing. Depending on how you have things setup, you need to make sure you let your iPhone trust the computer (typically a popup on the phone).
Hit that play button! You’ll see Xcode do a build and compile, which may take a bit. When its successfully completed, the app will appear on your phone. But you may see the following popup in Xcode.
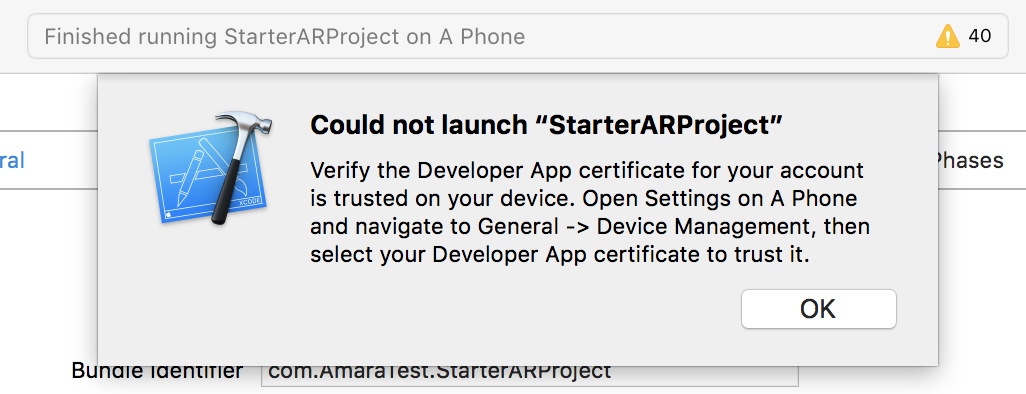
On your phone, you will need to go to Settings > General > Device Management if your phone prompts you and allow your developer profile.
Tap the app to start it. You should allow the camera and microphone for the app to work.
Can you hear Watson? Does Watson hear you?Congrats! You are done!
Finished!
At this point, you can go back to your Unity Editor and add additional assets or script new functionality. Remember you’ll need to rebuild your project in Unity, and then of course rebuild and compile in Xcode, plug your phone in a redeploy. But the sky is the limit! Let me know what you do in the comments.
Last updated