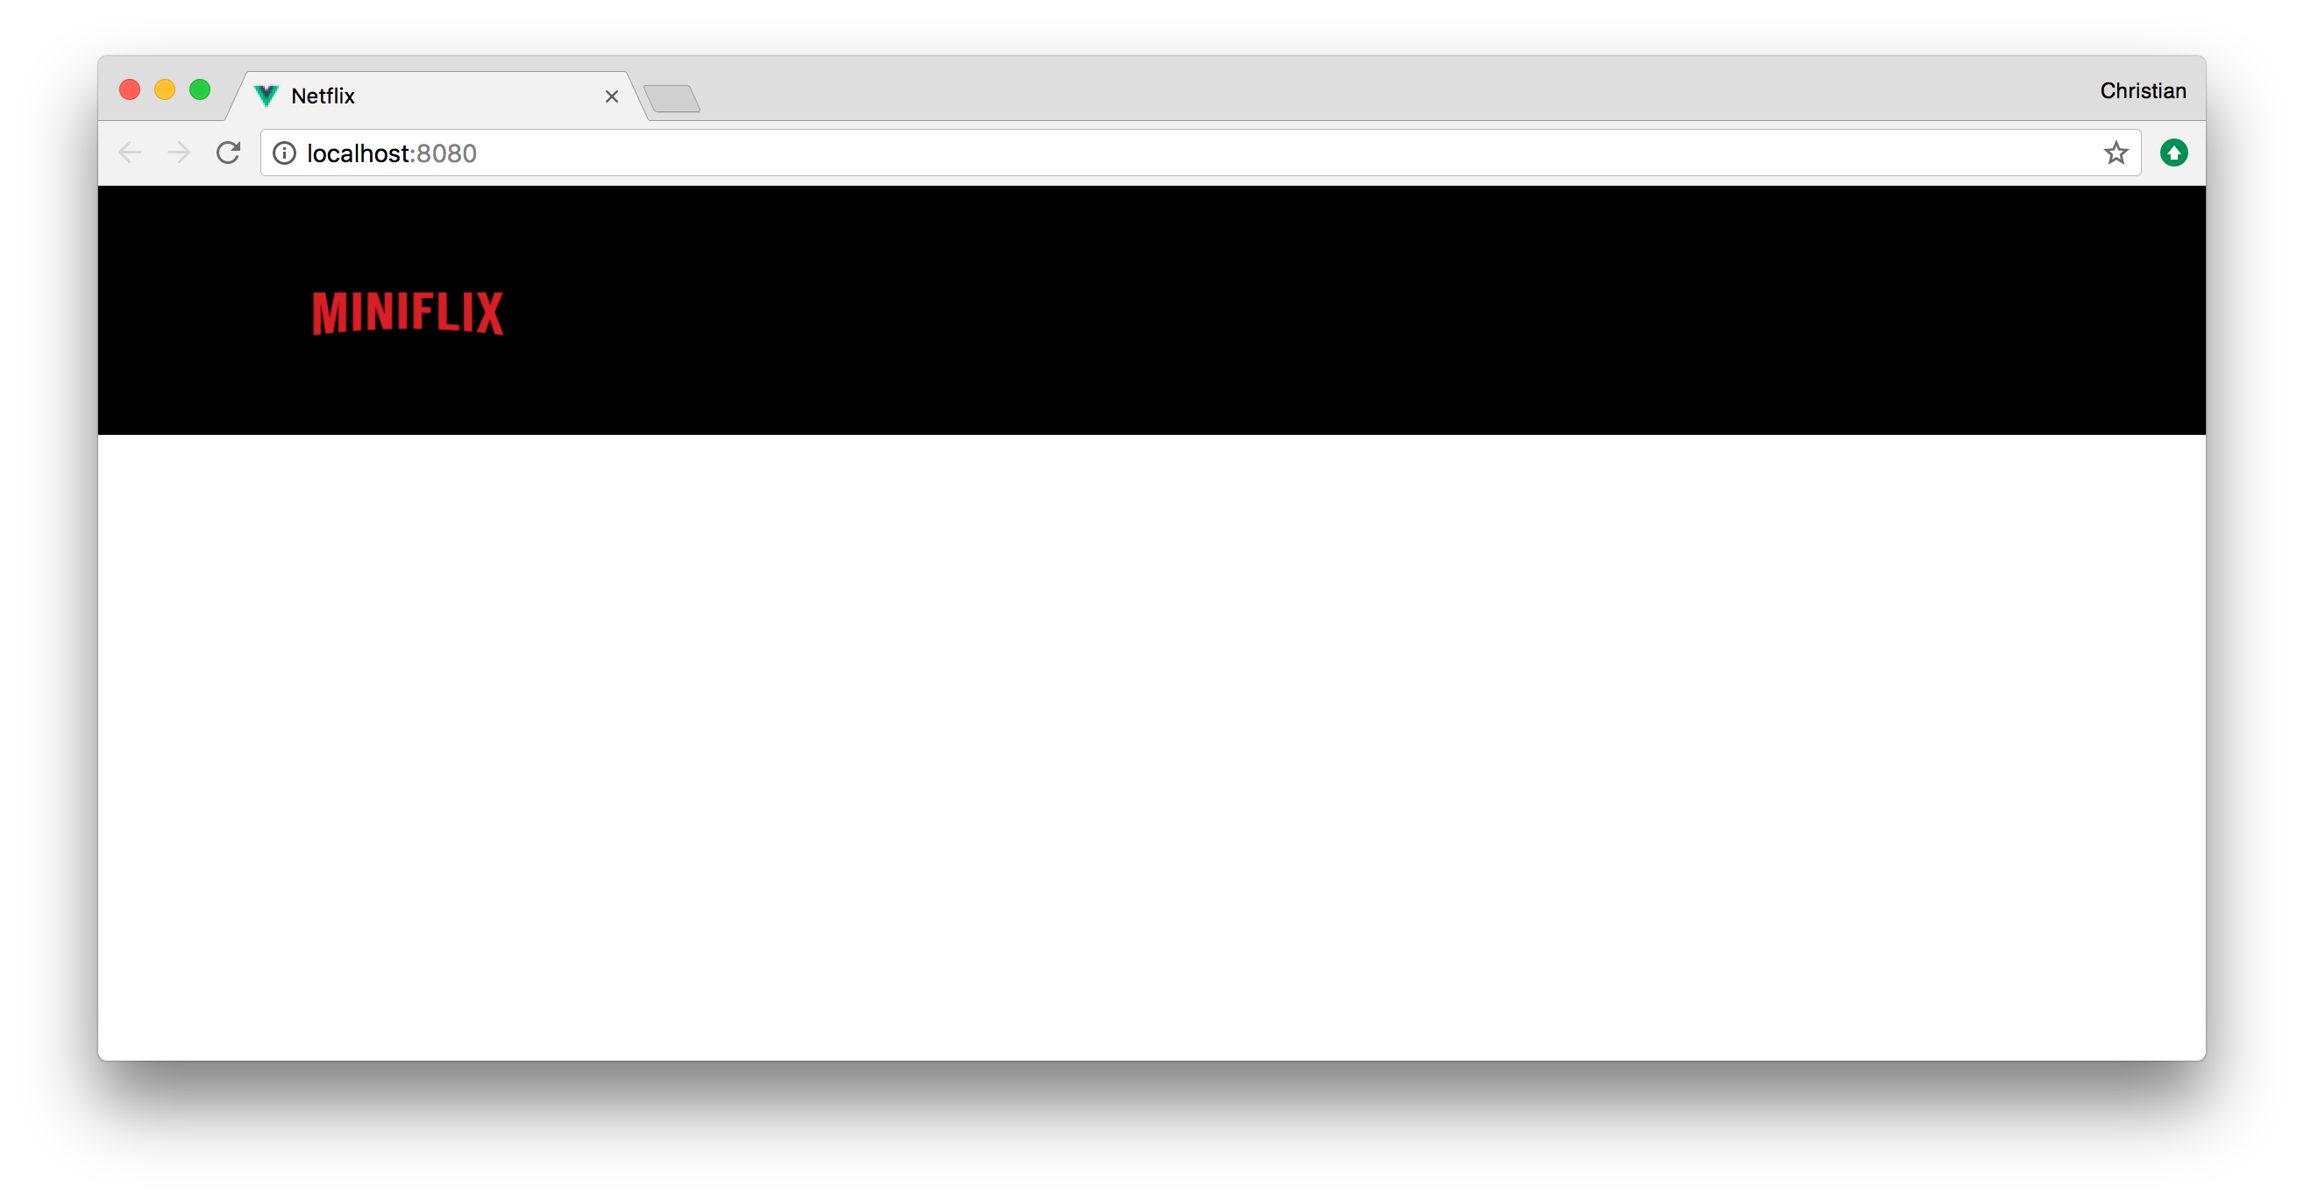
Header and Navigation
<template> <div id="app"> <nav class="navbar is-fixed-top" role="navigation" aria-label="main navigation"> <div class="container"> <div class="navbar-brand"> <a class="navbar-item" href="/"> <img src="https://cloudinary-res.cloudinary.com/image/upload/v1521663307/MiniFlix-Logo_620x180.png" alt="Netflix" width="112" height="28"> </a> <div class="navbar-menu"> <div class="navbar-end"> <!-- Upload button here --> </div> </div> </div> </div> </nav> </div> </template>#app { font-family: 'Avenir', Helvetica, Arial, sans-serif; -webkit-font-smoothing: antialiased; -moz-osx-font-smoothing: grayscale; color: #e5e5e5; background-color: #000; padding-top: 30px; } .navbar { background-color: transparent; z-index: 2; padding: 30px 0; } .navbar-item { height: 25px; width: auto; }<link rel="stylesheet" href="https://cdnjs.cloudflare.com/ajax/libs/bulma/0.6.2/css/bulma.min.css"> <script defer src="https://use.fontawesome.com/releases/v5.0.6/js/all.js"> </script> <title>Netflix</title>

Last updated