# Cloudinary Account and Initialization
Create the `cloudinaryInstance` instance so you can pass it to `VideoPlayer`.
## Create a Cloudinary Account
In the **MANAGEMENT CONSOLE LOGIN** screen, create a [Cloudinary account](https://cloudinary.com/users/login) or, if you have already done so, sign in.

The **Dashboard** is then displayed:

Your credentials are displayed under **Cloud name**, **API Key**, and **API Secret**. You need the cloud name on the client for image requests.
> **Note**: The contents (images and videos) in the rest of this lab do not exist in your account. If you need them, note the sources in the browser, download them, and upload them to your server.
## Import the Cloudinary SDKs
Cloudinary offers SDKs that speed up the process. To import them, go to each of the media files and fetch its URL from the Cloudinary Dashboard. This is a manual task and can be tedious for automated tasks. Actually, all you need is the media's public ID, not the full URL.
1. Select any image on your cloud for both the URL and the public ID:

2. Import the SDK libraries to your `public/index.html` file by specifying their URLs below the `div` tag:
```markup
```
3. Add a `created` lifecycle method to the `App` object for initializing Cloudinary with your cloud name:
```javascript
created() {
this.cloudinaryInstance = window.cloudinary.Cloudinary.new({
cloud_name: 'YOUR CLOUD NAME',
secure: true
});
},
```
## Set up a Moive Data Model
Since you do not have any data to show yet and are just working with the defaults, initialize `movie` as an empty object:
```javascript
data() {
return {
movie: {},
}
},
```
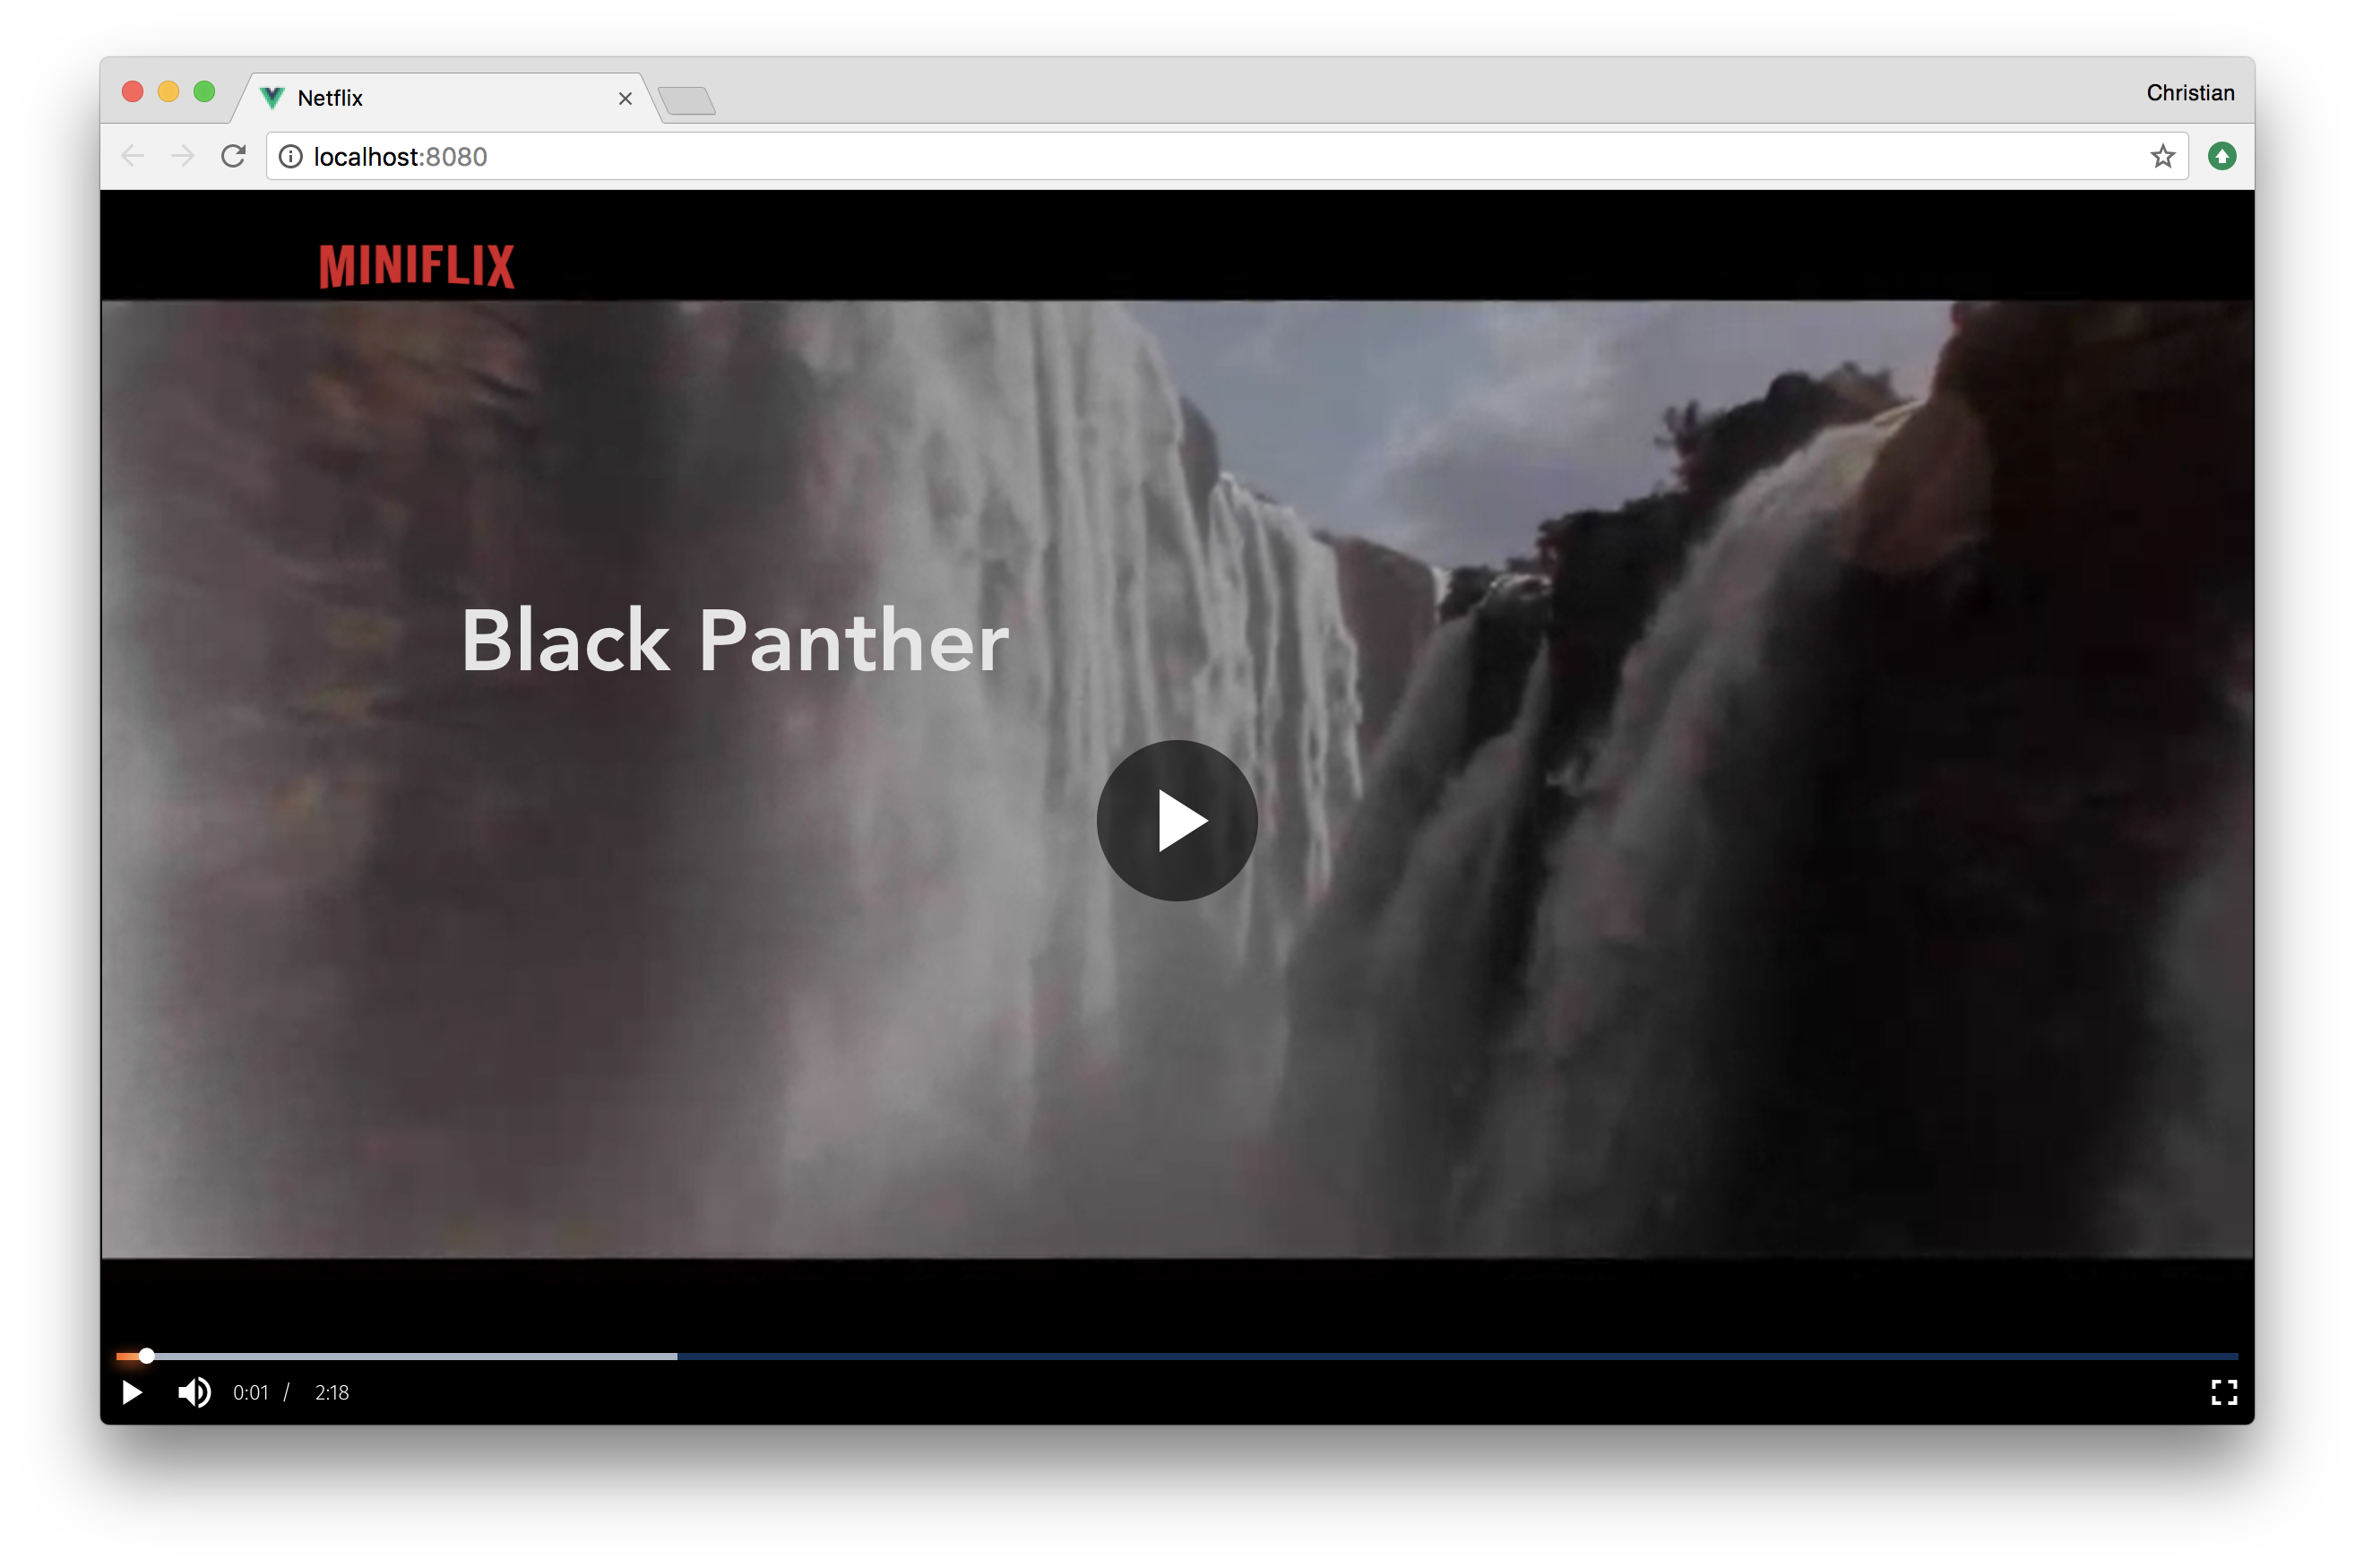
So far, so good:
---
# Agent Instructions: Querying This Documentation
If you need additional information that is not directly available in this page, you can query the documentation dynamically by asking a question.
Perform an HTTP GET request on the current page URL with the `ask` query parameter:
```
GET https://cloudinary.gitbook.io/build-a-mini-netflix-clone-with-vue/cloudinary-account-and-initialization.md?ask=
```
The question should be specific, self-contained, and written in natural language.
The response will contain a direct answer to the question and relevant excerpts and sources from the documentation.
Use this mechanism when the answer is not explicitly present in the current page, you need clarification or additional context, or you want to retrieve related documentation sections.